
I also started the syrup for the peaches. This consisted of 10 cups of water and 3 cups of sugar. I doubled this and it was the perfect amount for the 9 quarts. I brought this to a boil so that it was ready once the jars were filled.
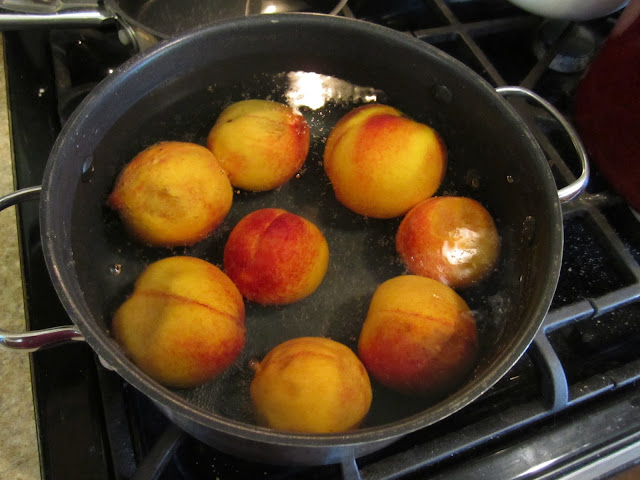
To quickly remove the skins, I boiled the peaches for between 30-60 seconds and then immediately transfered them to an ice water bath. This blanching process helps the skins to slide right off. My peaches were starting to get a little soft, so 30 seconds or less was perfect. At 60 seconds the peaches were almost over done.
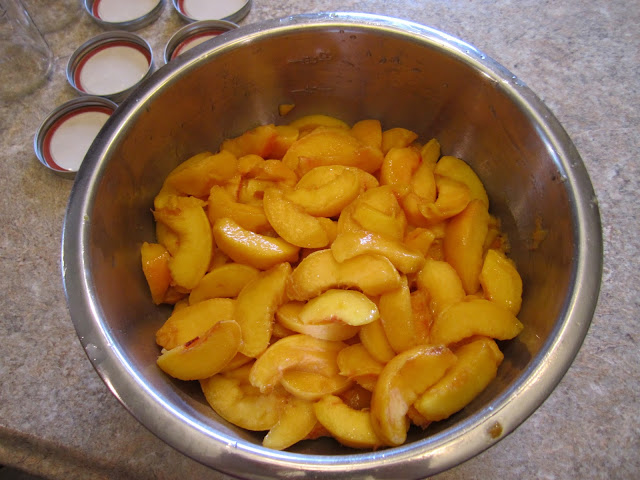
Because I was doing so many peaches at once, by myself, I had a bowel of water with lemon juice in it to transfer the sliced peaches to in order to prevent them from turning brown.
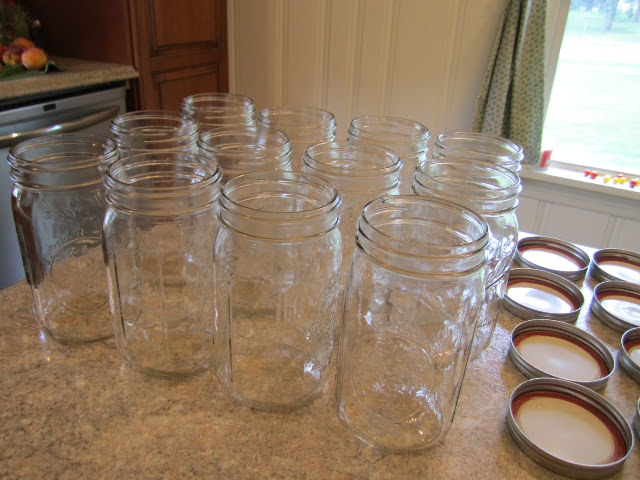
Once the peaches were all peeled and sliced with pits removed, I removed the jars from the dishwasher and started packing the peaches in the jar, leaving about 1/2" headspace. I then filled the jars with the boiling syrup and left the same 1/2" headspace.
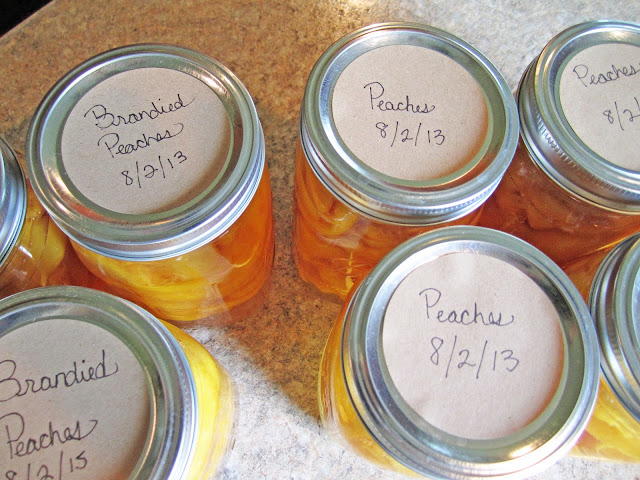
I decided I wanted to do a couple of jars of brandied peaches. A little brandy never hurt anyone, right? Right. So I filled the jars the same way, except for the syrup. I left enough room with the syrup to add about 1/4 of a cup of brandy to the jars, while still leaving 1/2" headspace.
I then applied the lids and processed for 25 minutes in the canner.

I bought a jar tightener to tighten the lids, because I'm a little wussy when it comes to tightening and untightening jar lids. Turns out, I tightened a few of them a little too tight, which I didn't know was possible. I know this because a few of the lids came out a little puffy, and there wasn't enough give when it came to the cooling and suctioning. So I reprocessed them with new lids once they had cooled.
I love to label things so I whipped out my craft sticker labels and was sure to include the date that I canned them and the type of peaches.

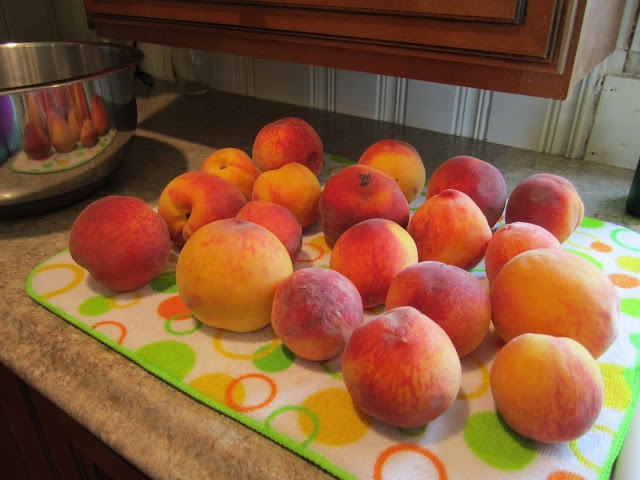
I had a handful of peaches that were starting to get brown spots. I decided to skip the canning for these, and use them for freezing. We make a lot of smoothies!! I left the skins on and just cut out the brown spots and threw them away. I freeze them first flat on a baking sheet, to keep them from clumping together. Once they are solid, I transfer them to a freezer bag. Now we are all set and loaded with peaches!