So my crafting area is still a work in progress, but I am loving it more and more with each addition! My awesome Handy-man Grandpa has helped me create a pretty sweet setup with with the cabinets we had originally put in the dining room, which is now a salon.
They are perfect for storing all of my fabrics, papers, tools, glitters and glue! So I have been absolutely dying to make a huge pin board for all of my ideas and goals! (I’m big on vision boards and having little reminders of my goals right where I can see them everyday.) So here’s a little peek at how I did it!
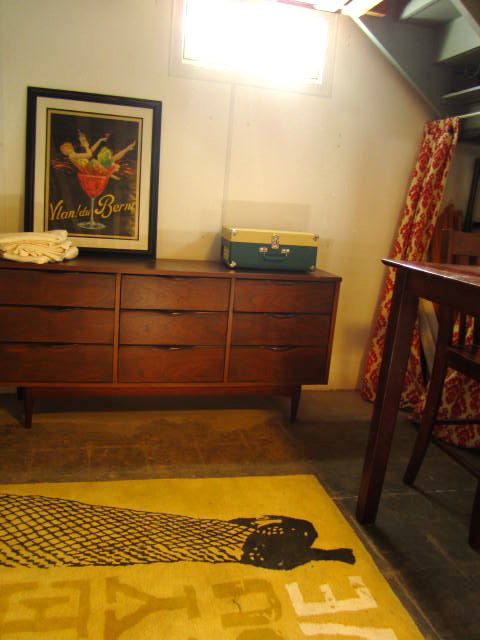
I love design, and we are kind of designing our basement backwards. We recently had it waterproofed and it now has bare floors and ceilings, but everything else is slowly falling into place.

So we have a little area where my husband Jared has his record player set up and that was my inspiration for the color of the pin board.
 |
I like to mix patterns and colors and texture in a room, but I like them to tie in together somewhere. I just so happened to find this fabric which matches perfectly in the remnant section on sale!! I got quite a bit extra because I may just recover this chair we have (to be continued!) |
 |
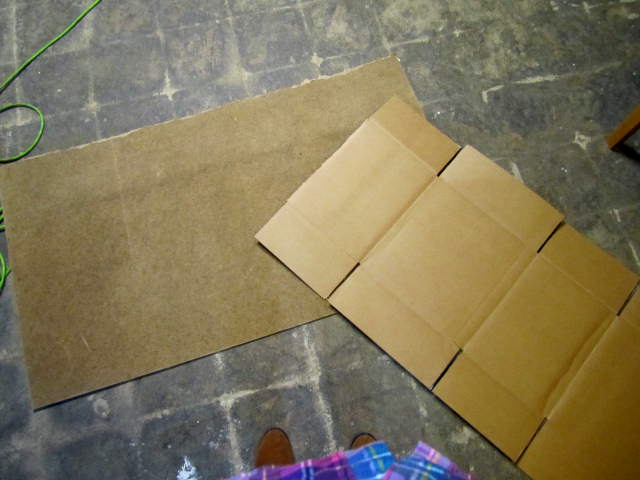
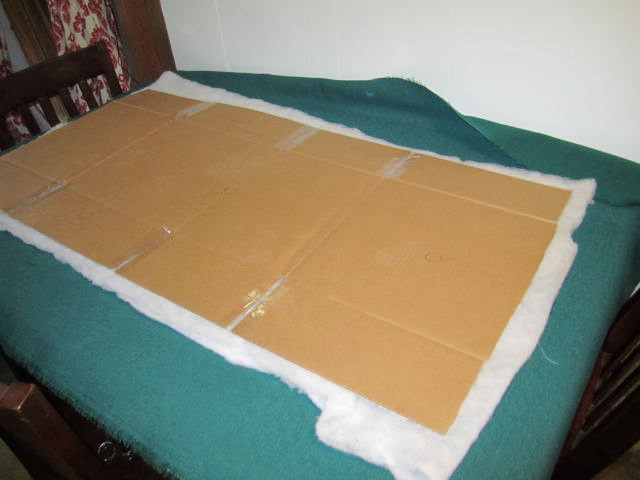
I chose a large piece of really thin MDF for the actual board. I also cut a piece of cardboard for the middle because I decided I want my board to be tufted. |
 |
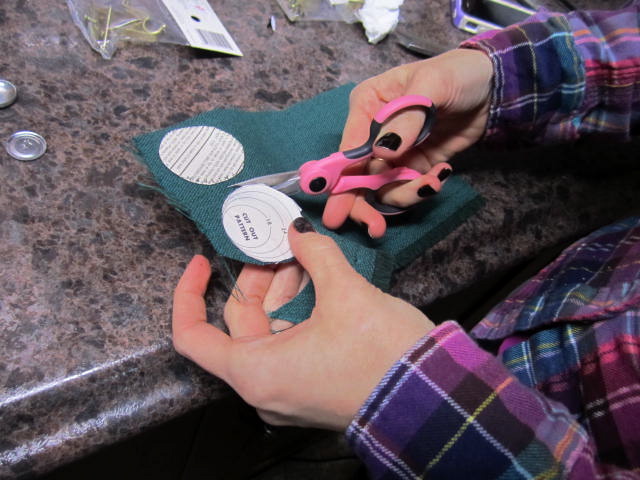
I want my buttons to be the same fabric, so I used some old metal buttons that are meant to be covered. |
 |
The first thing I did was figure out where I want my buttons to lie on the board. I layed them out on the cardboard so that I could determine how many I wanted to use and the type of pattern. |
 |
Then, to be precise I measured the length and with of the board to find the centers. I then divided by the amount of buttons in each row so that they were equally spread apart. |
 |
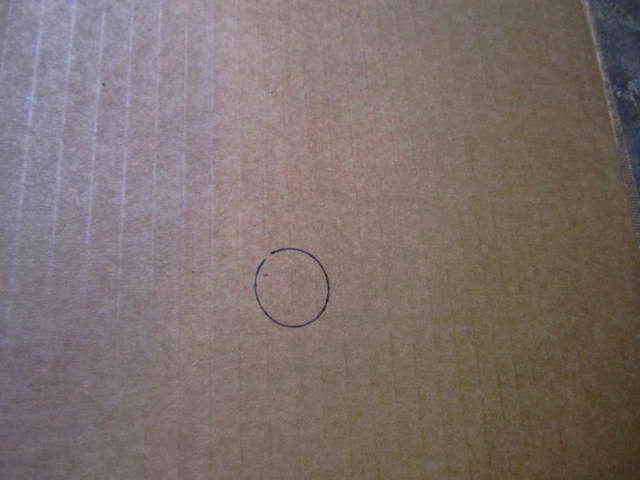
I then just traced around the metal buttons so I know exactly where to sew the buttons in place. |
 | |
|
 |
Time for the batting!! I used just enough to cover the length and width of the card board. I used spray adhesive and adhered it to the opposite side of the cardboard (the side that does not have button circles marked.) |
 |
I then centered the cardboard on the cut fabric with the marked side facing me. |

 |
Using the marked circles as a guide, I started from the front, (the fabric side) and began sewing on the covered buttons. I looped it through probably 4-5 times and finished up in the back pulling it tight. |
 |
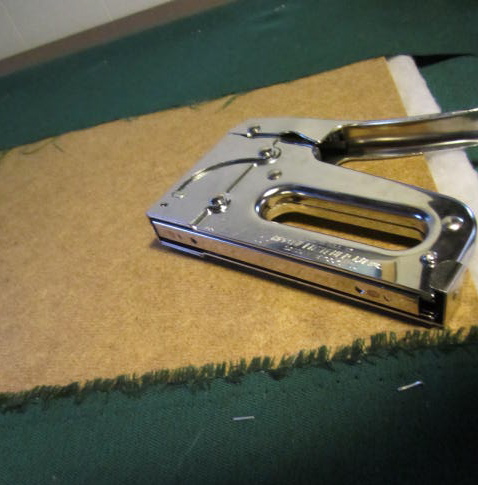
I also taped down the thread on the back side for extra security. I centered the tufted cardboard on the MDF and folded the corners neatly over the back of the MDF and used a staple gun to secure it all the way around the outside edge of the board. |
 |
 |
To finish it off, I bought these little hooks at the hardware store that just screw in for a couple dollars. |
 |
Voilà! We have a personalized pin board to match our decor!!!


❤Lindsay