Today I wanted to share a neat little project with you. I had been seeing these really neat looking letters you can sit around on shelves that form initials, or phrases such as "home" or "love." I really wanted to create the saying "aloha" for my parents for Christmas.
These letters have been shown with different coverings such as moss, or just that kraft paper look, and they are made out of different materials such as wood or foam, or paper mache. So off I went to my home away from home (Hobby Lobby) in search of these letters. To my dismay, the only letters I found were way bigger than I had in mind, and several of the letters were sold out anyways. Time for Plan B: I was gonna have to make my own.
Having never done paper mache before, I found it surprisingly easy, and very therapeutic! YouTube has a lot of nice tutorials for doing paper mache, and they pretty much just lay it all out for you. I made my own paste using equal parts flour and water and a little salt. You can add more water if you want a thinner consistency.
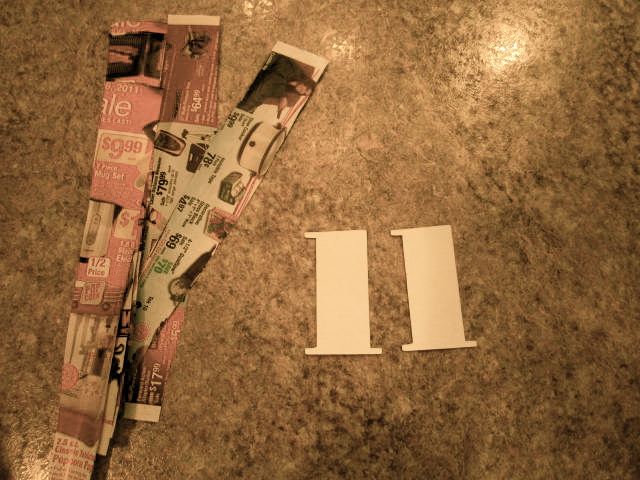
So, thanks to my favorite crafting tool ever (my cricut machine) I was able to cut the base for the letters using a light cardboard, I used a gift box. You could use a cereal box as well. I cut 2 of each letter because you need a front and back, and then long strips, about 1" thick to connect the two letters to make them 3D.
![]()
![]()
![]()
![]()
![]()
![]()
![]()
![]()
Having never done paper mache before, I found it surprisingly easy, and very therapeutic! YouTube has a lot of nice tutorials for doing paper mache, and they pretty much just lay it all out for you. I made my own paste using equal parts flour and water and a little salt. You can add more water if you want a thinner consistency.
So, thanks to my favorite crafting tool ever (my cricut machine) I was able to cut the base for the letters using a light cardboard, I used a gift box. You could use a cereal box as well. I cut 2 of each letter because you need a front and back, and then long strips, about 1" thick to connect the two letters to make them 3D.
I didn't get a picture of how I taped the letters together, but this is a great post that shows you exactly how to do it: http://greenzebracrafts.com/diy-paper-mache-letter/ It will show you precisely how to tape the 1" strips to the 2 letters to make them 3D.
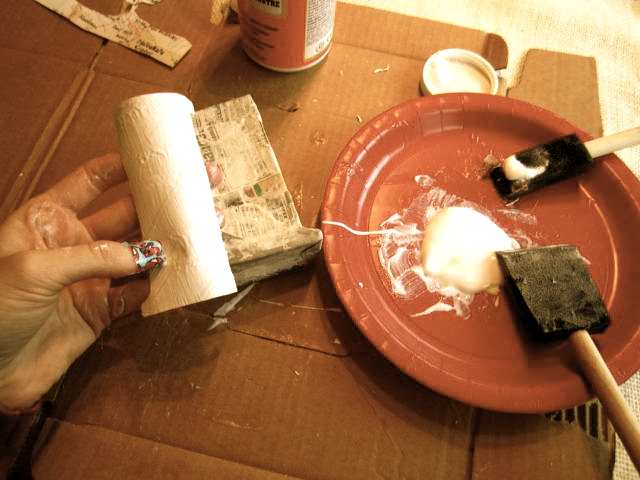
I then got the newspaper cut in to skinny strips and ready to cover the cardboard letters. I got the paste mixed up, and covered my workspace, and then it was time to dip!! This was my favorite part! I completely submerged the newspaper strips in the paste, and then wiped of the excess so its not too messy when you apply it. Then you wrap the letters as smoothly as possible and keep wrapping them until the letters are completely covered. They will look something like this:

I let them dry over night, but they should be dry in about 3 to 4 hours.
I decided that I wanted to cover these letters in maps from Hawaii. I scoured the city looking for maps, but Decatur, Illinois does not have individual maps of Hawaii. It actually worked out for the better because I was able to print out maps of my parents favorite parts of Hawaii and the places they like to stay, so it made it even more personal. I used glossy photo paper to print on, because I liked the finish much better! I traced each letter onto the maps and used an exacto knife to get a precise cut.
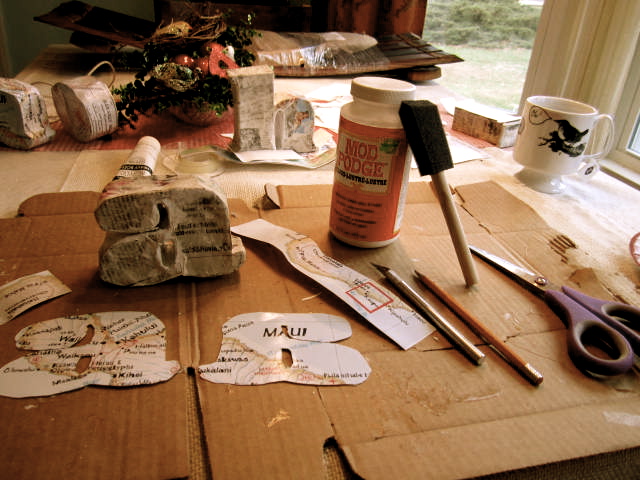
I then used Modge Podge decoupage glue to adhere the map to the dried paper mache letters, and then did a nice thick coat over the top of it after its applied.
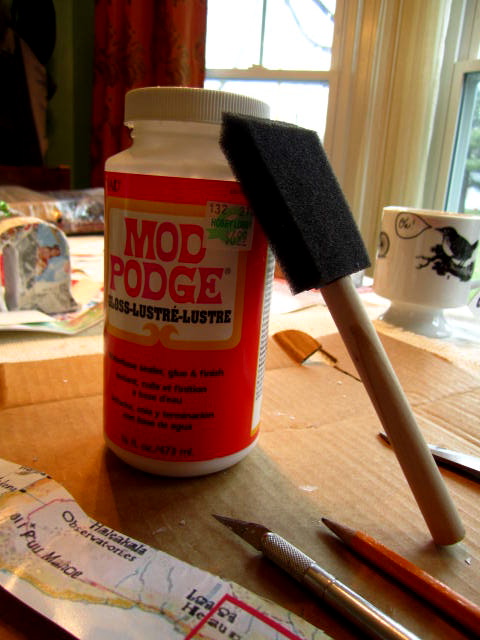
I love this stuff because it dries up super glossy and looks really professional.
I used a sponge brush to apply it too because it gave a good even coverage.
Then I let it dry for a couple of hours...and voila!


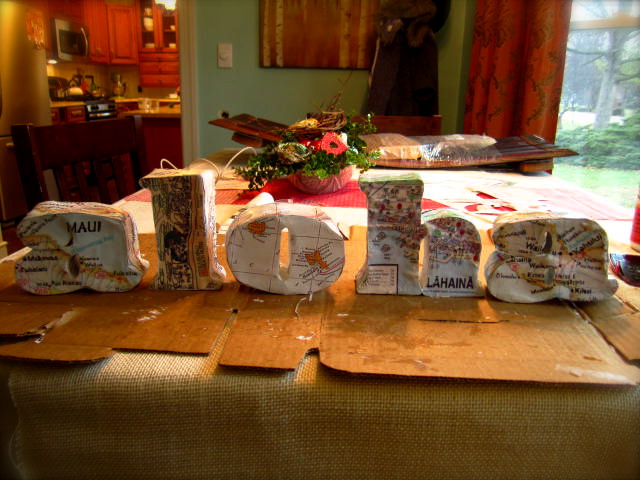
They have a nice hand made look, and they will look great on a shelf! Mele Kalikimaka!!