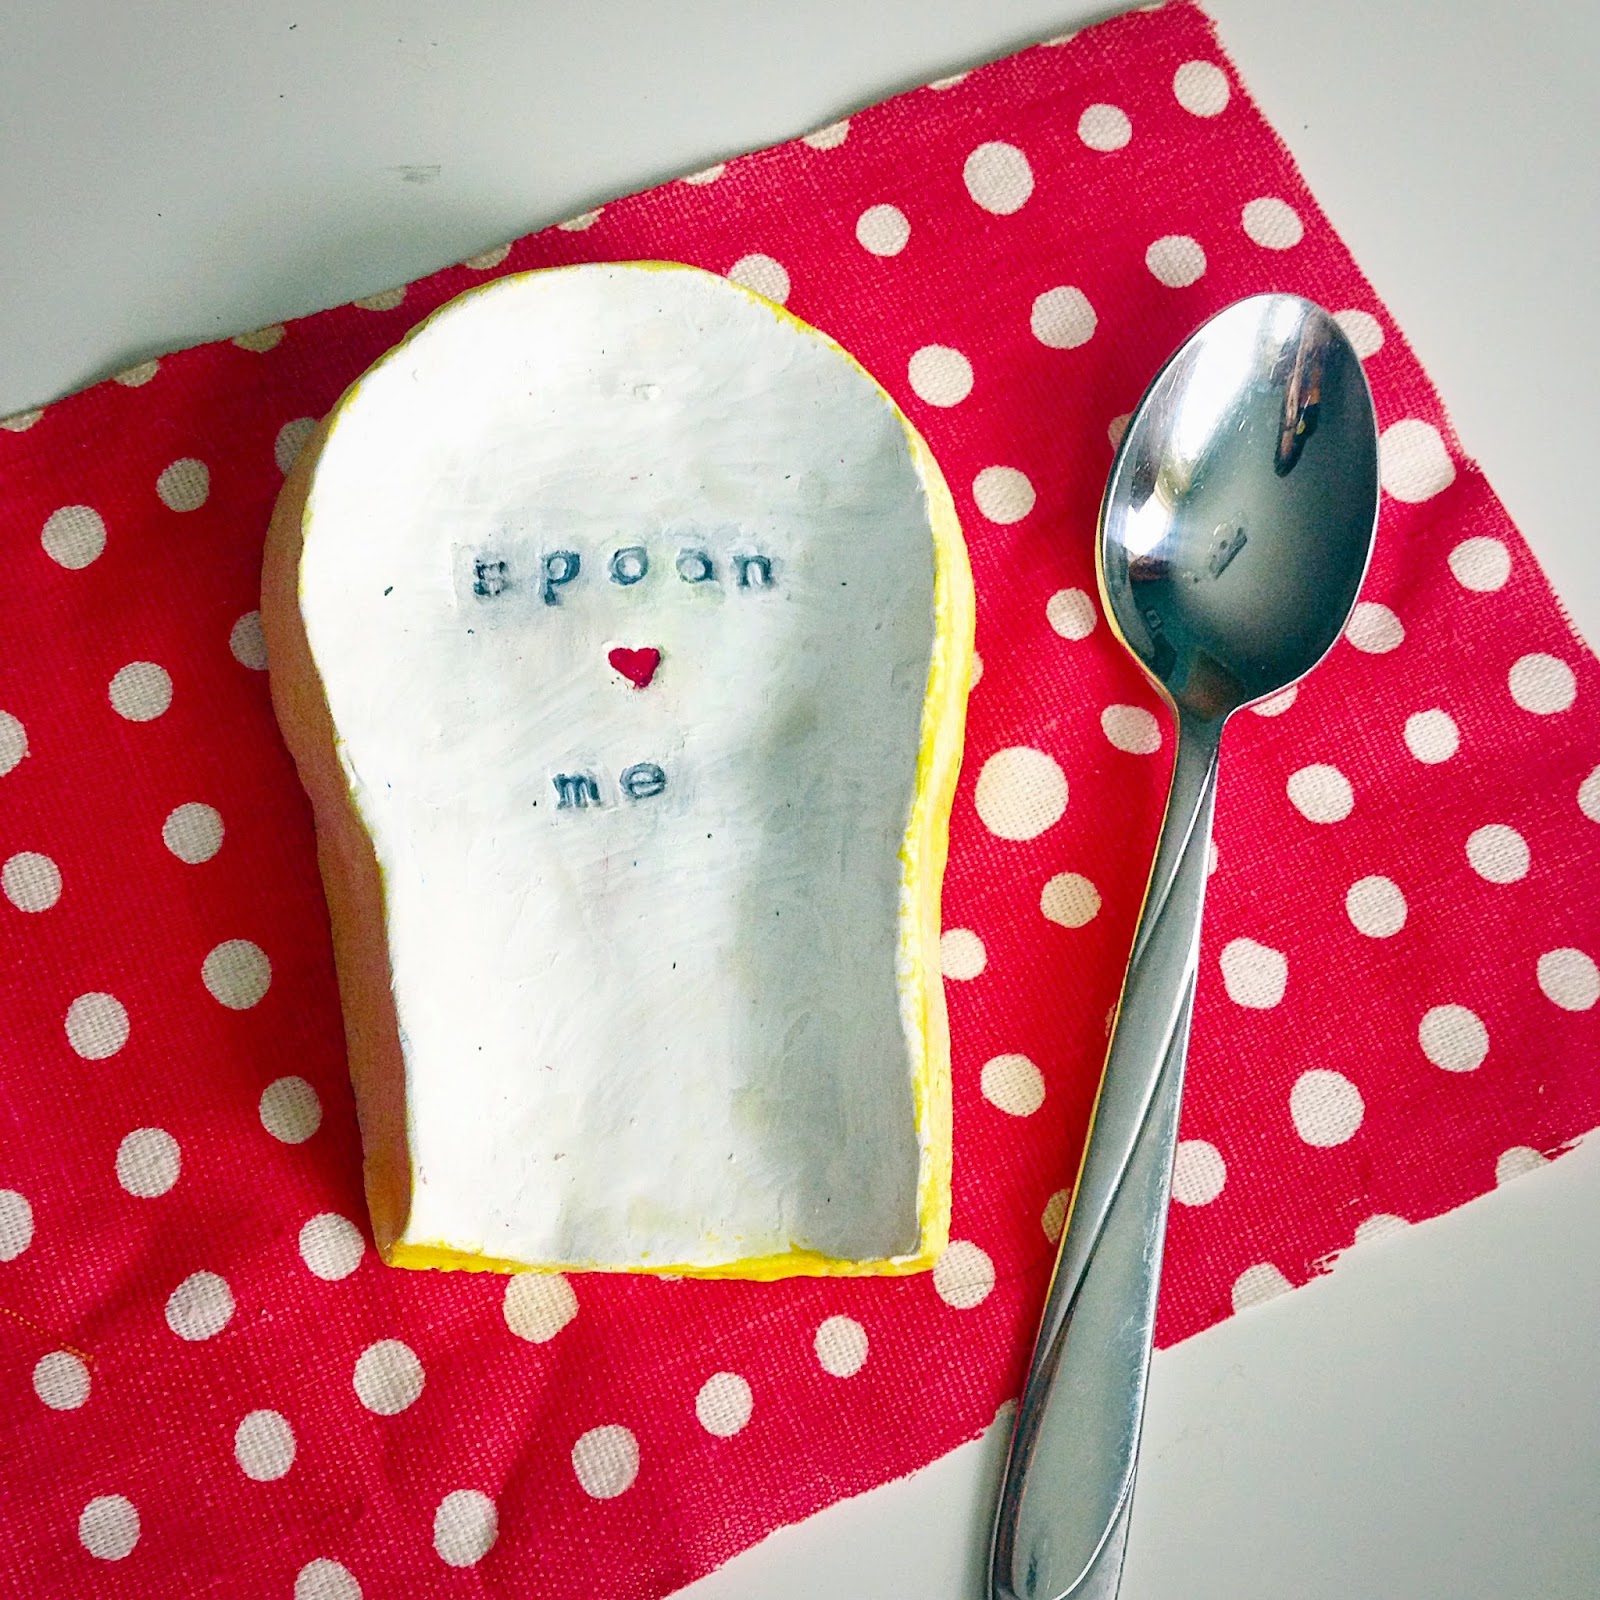
You all know how how much I love a quick project. Instant gratification!! Here is another one I whipped up one day after making a mess in the kitchen. I never have had a spoon rest, which is surprising really, because I have every other gadget for the kitchen known to man. I mean, seriously...some of the items look like they belong in a torture chamber, but hey! Whatever works, right? I had some sculpey clay that I had bought, knowing I'd make something with it, a little dish, or tags, or dinosaur fossils, you know, the basic things a 32 year old woman would make ;) Well, after I splattered spaghetti sauce everywhere, I thought, "I'm gonna make a spoon rest out of that clay." And that I did. Of course, it had to have a kitschy little saying on it. If you're a hot beverage lover, like me, it works great for keeping your stirring spoon, too, so you don't have to dirty spoons all day long. This particular one would make a cute little Valentine's Day gift, or you could get creative and paint it or stamp it to your little heart's desire! Here's how I made mine:
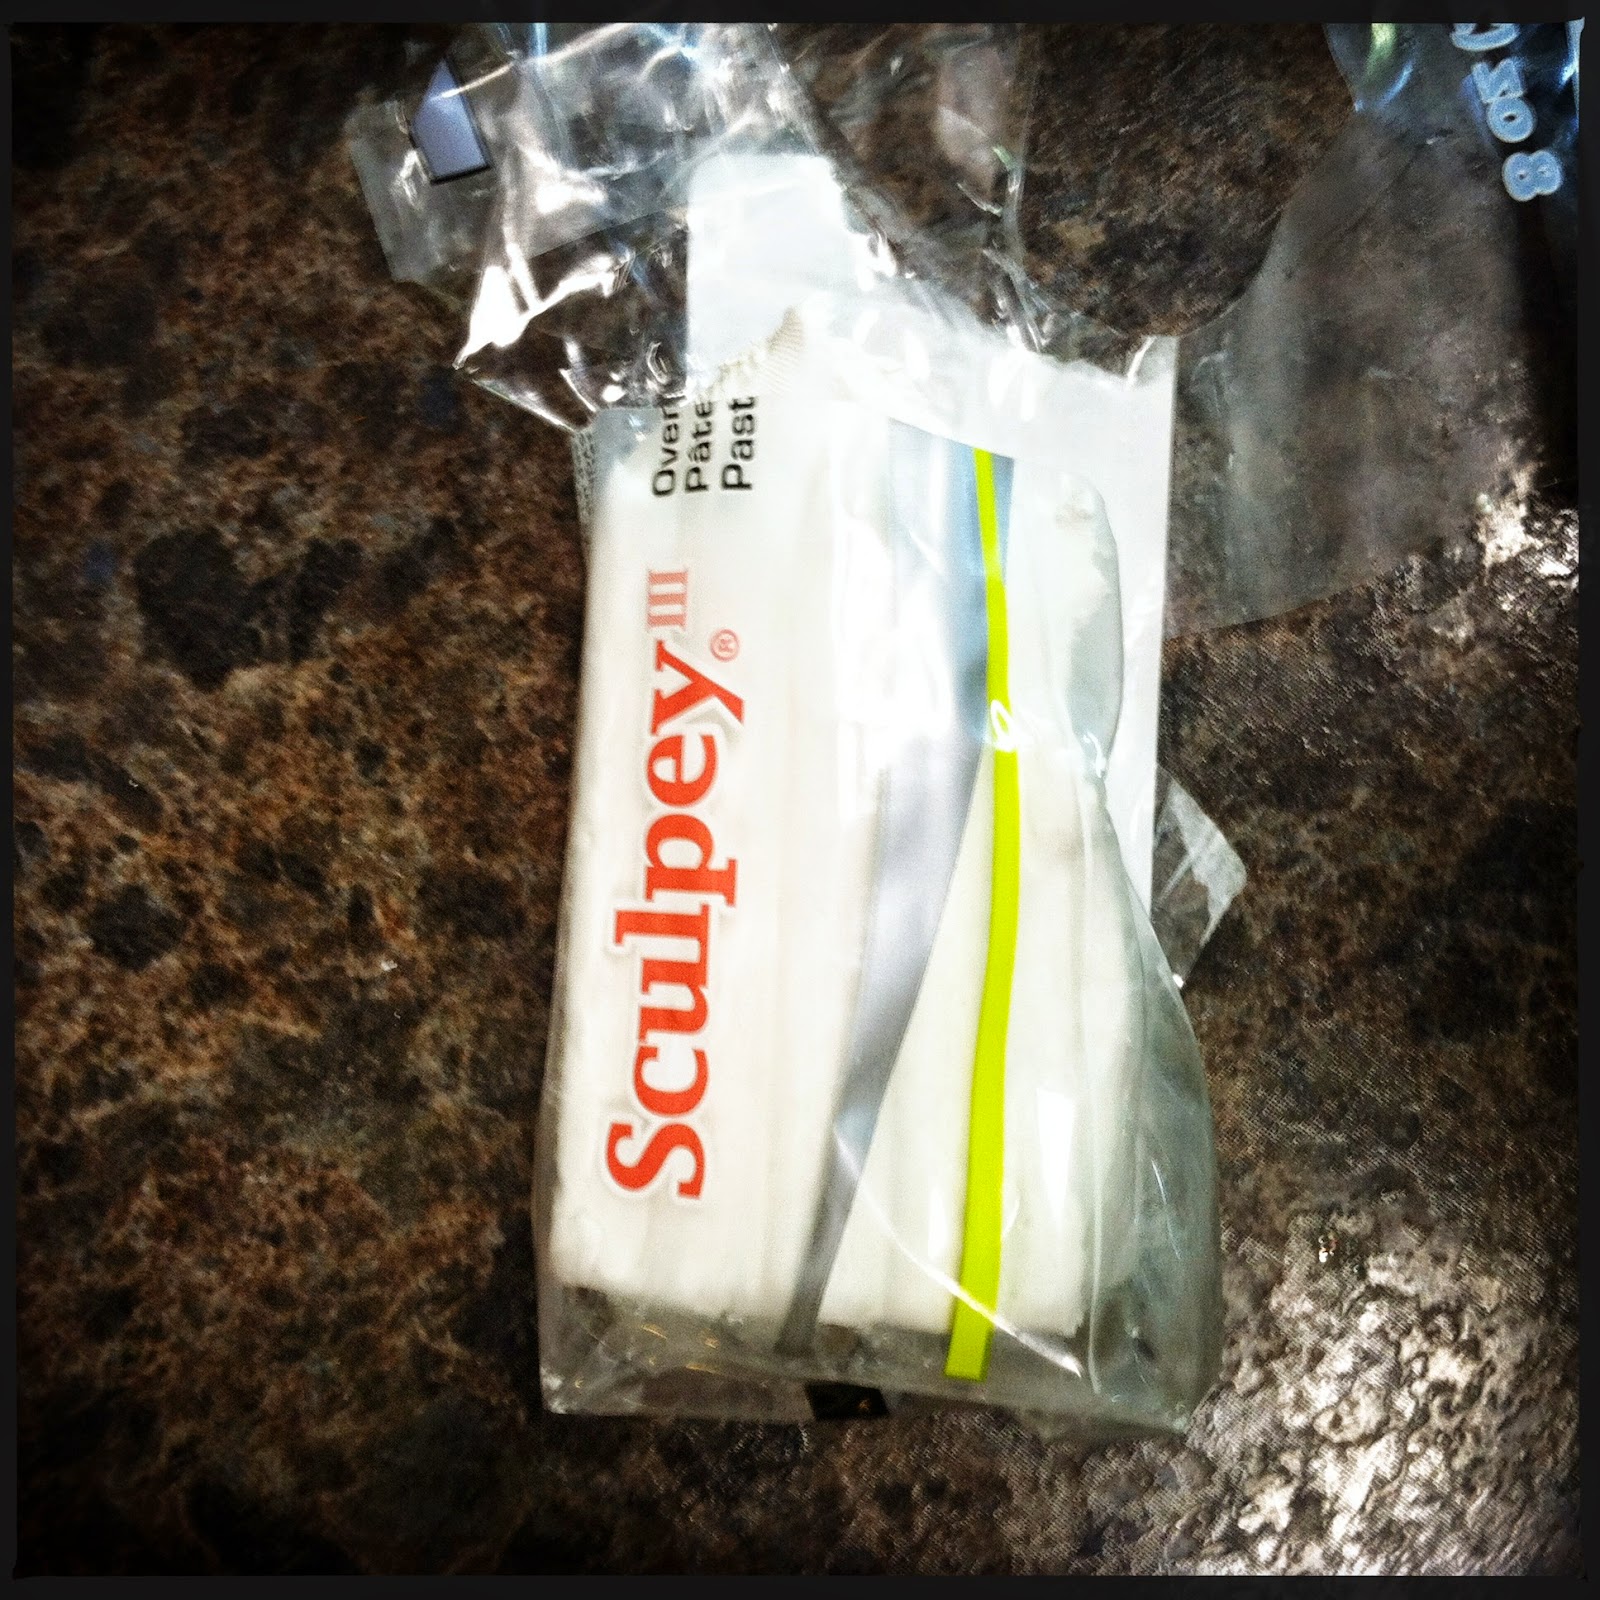
1. Get you some Sculpey clay! Here's a link if you aren't near a craft store: Polyform Sculpey III Polymer Clay 8 Oz: White![]()

2. Roll it out flat with a rolling pin. Mine's about 1/4" thick. Use a spoon as a guide, and start shaping it! Pretend like you're playing with play dough again...but try not to eat it this time, k?

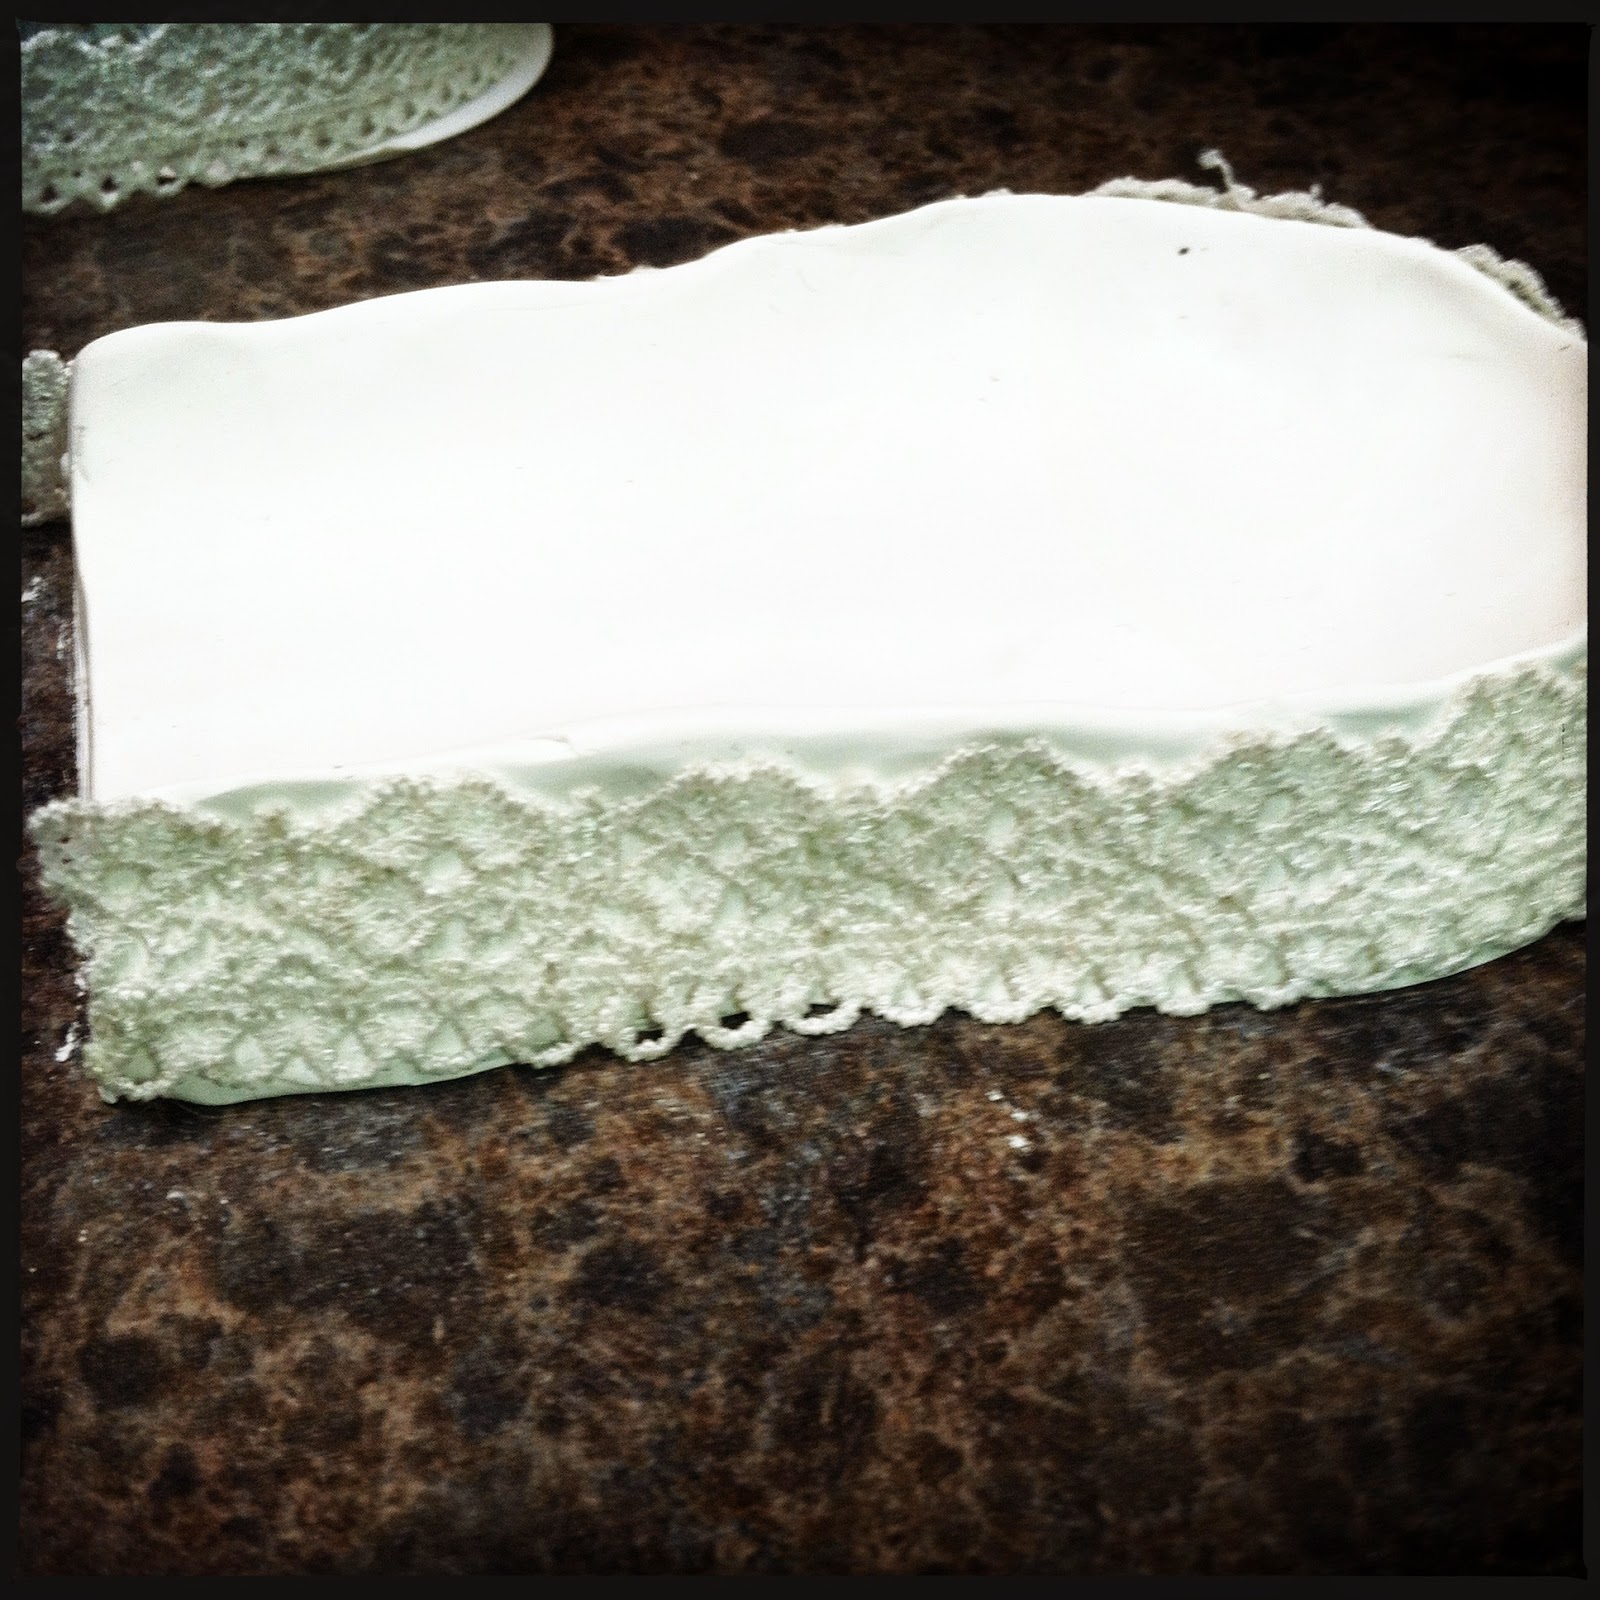
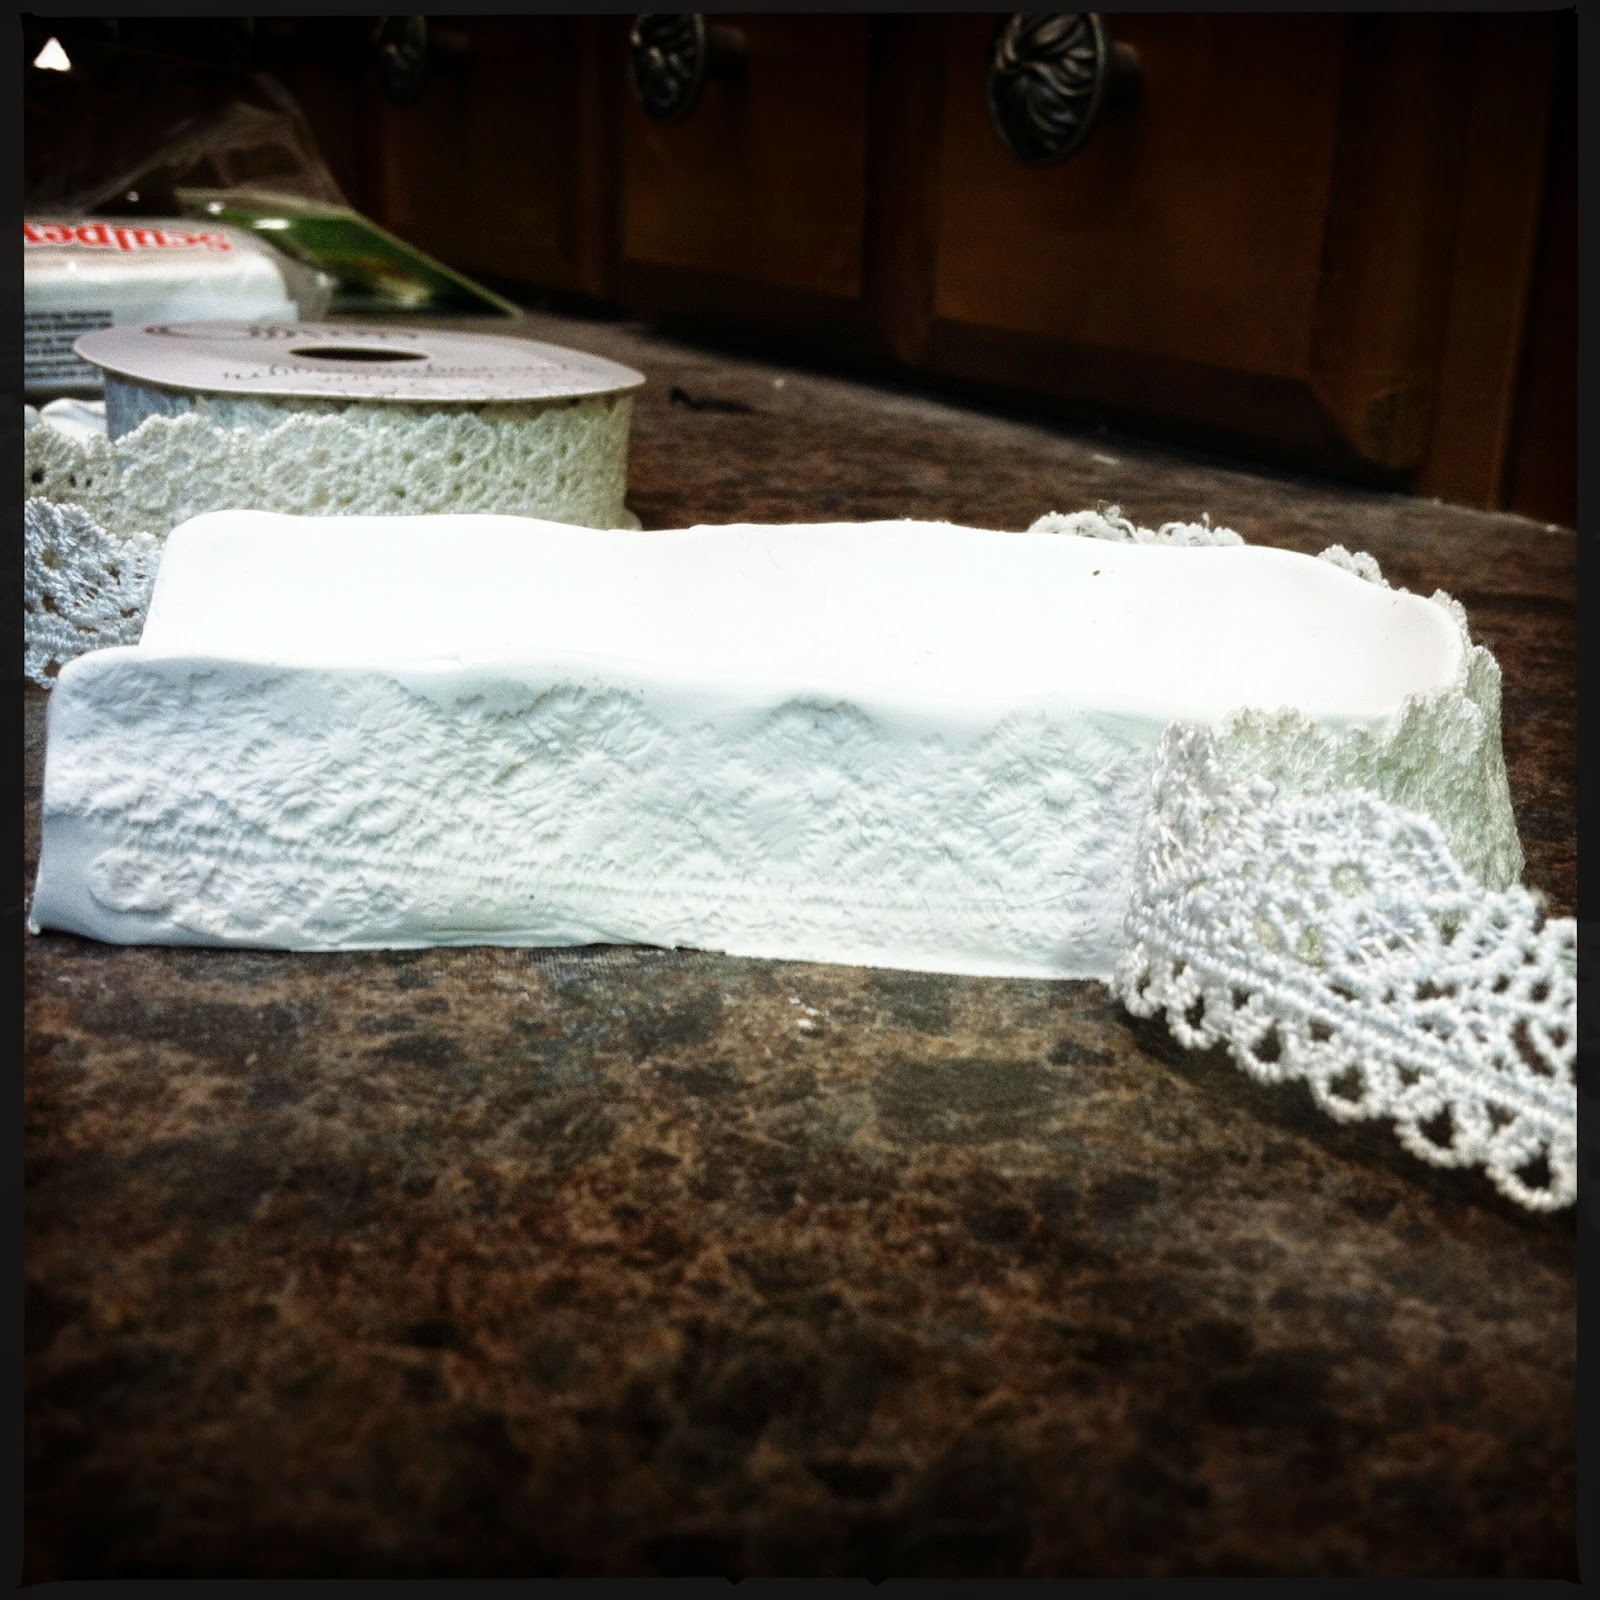
3. I wanted some texture so I cut a piece of lace and pushed it into the sides.
4. Then to make my cutesy saying, I used this pack of rubber stamps I got in the dollar bin at Target.


5. Once you've got it smoothed and situated the way you want it, follow the instructions on the back of the package and bake it accordingly. It will firm up and then you'll be ready to paint.

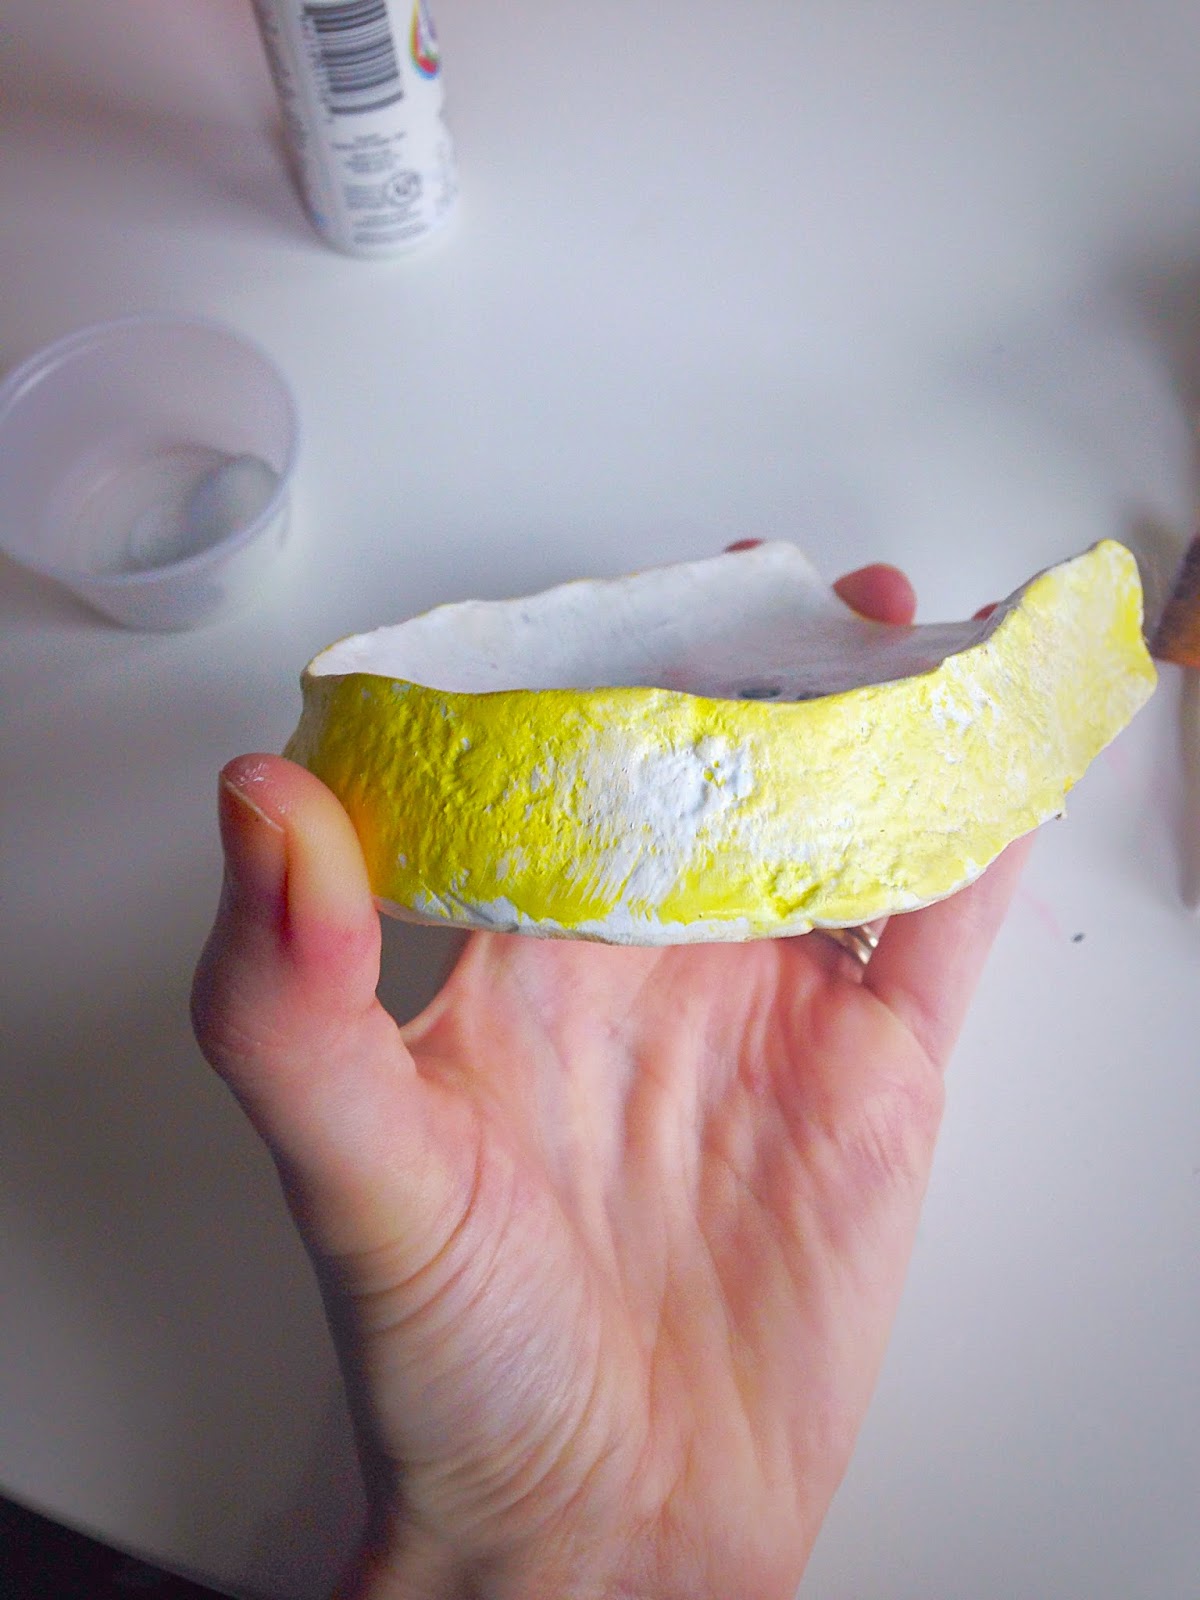
6. I used Martha Stewart's Multi-Surface Paint which is my fave. You can use a q-tip to wipe around the crevasses. For the sides I used yellow first, and then used a brush to lightly dab white into the lace indentures. Then I dabbed over it with a paper towel to remove any excess so the yellow would show through.
7. Let it dry, then follow up with a clear sealer like this one which adds protection and makes it easy to clean:
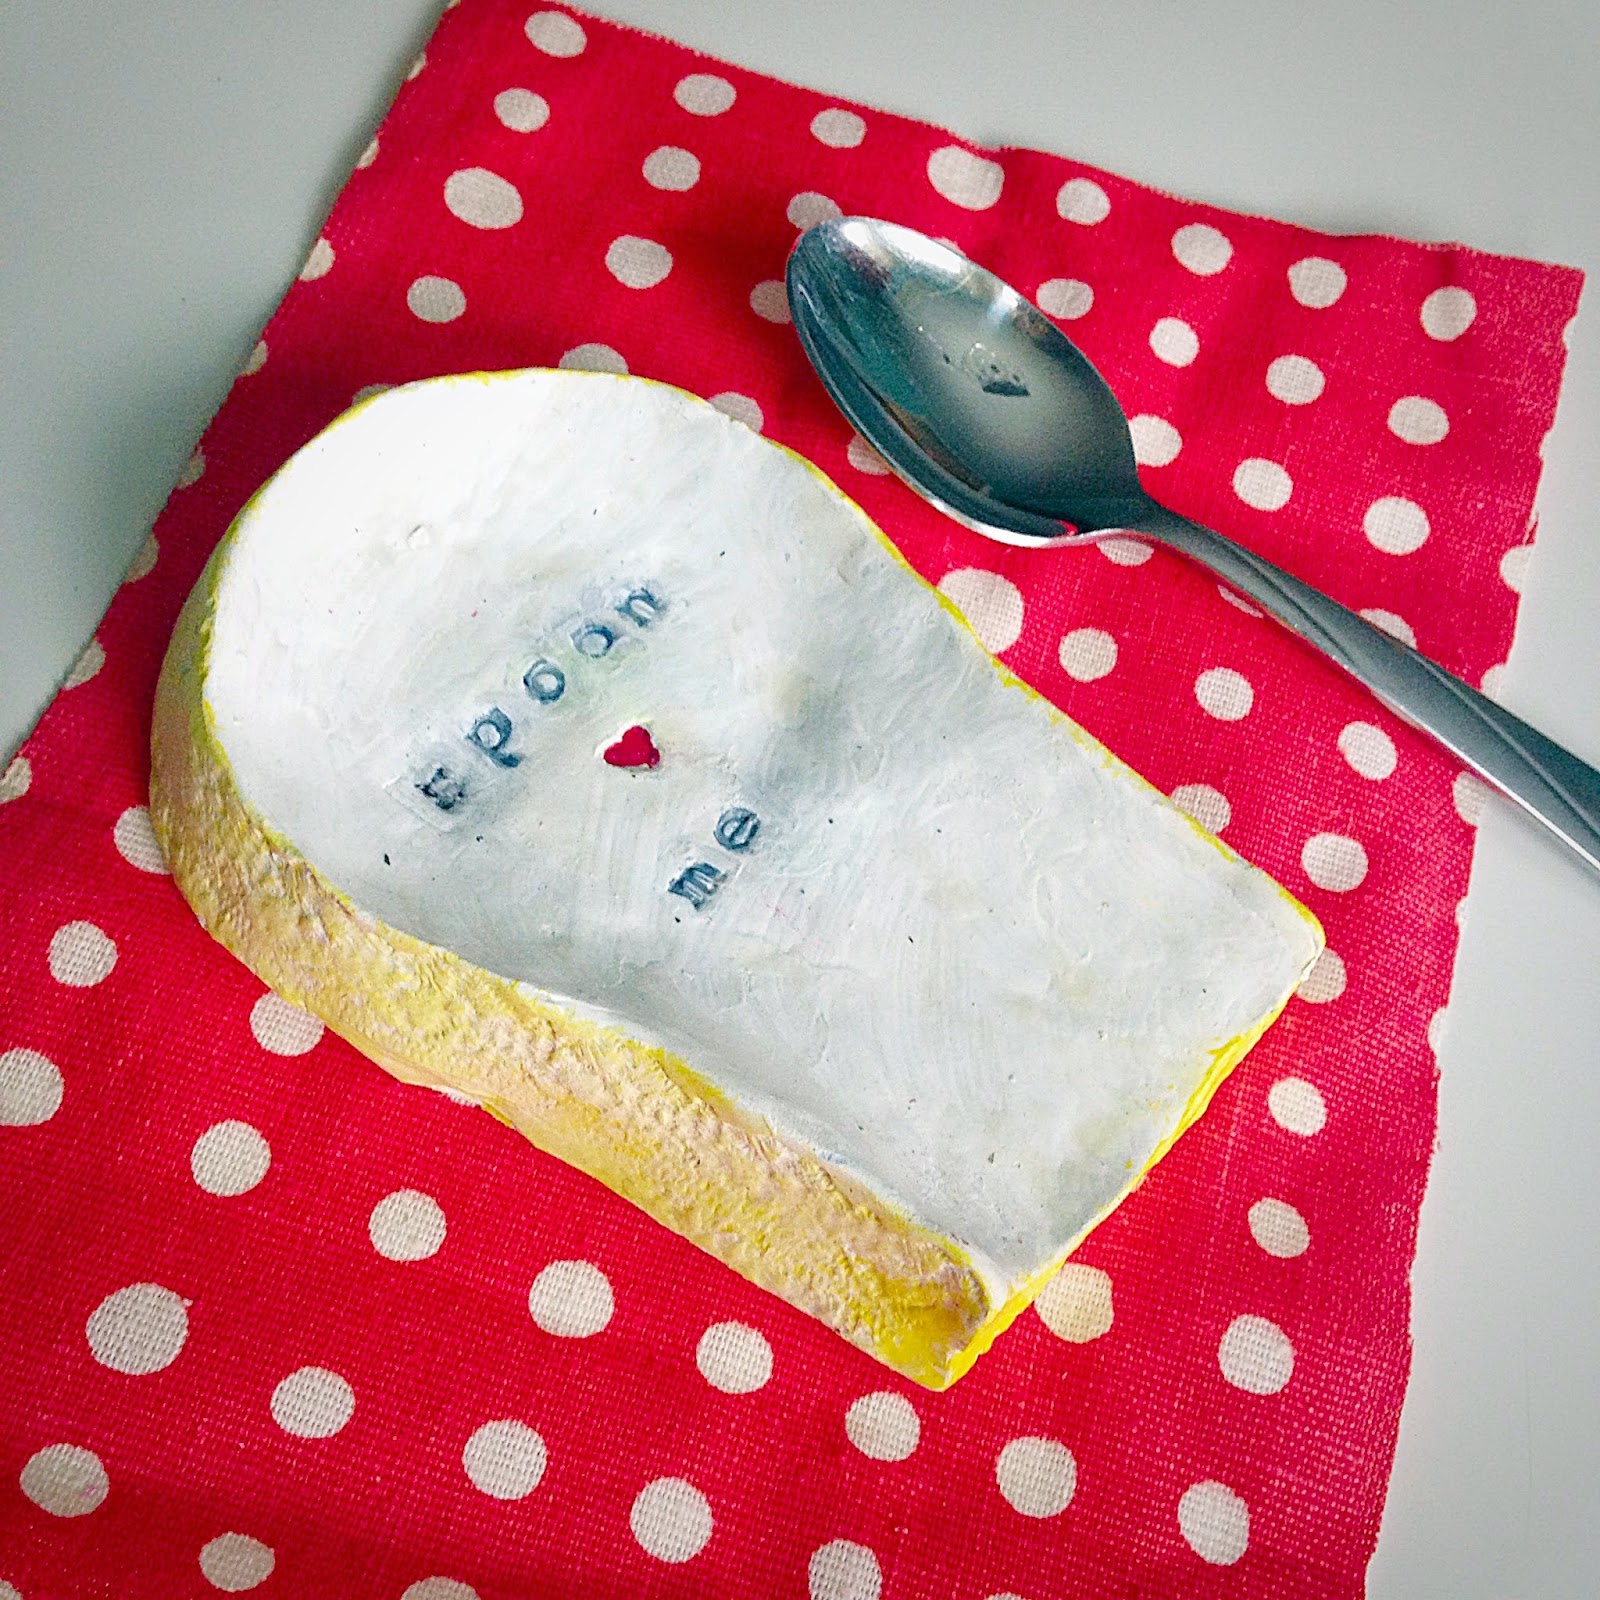
Now admire your handy work every time you are in the kitchen!