So, I wanted to share our pallet fence project that we built earlier this spring. We, yet again, doubled the size of our garden this year. This is starting to become an annual project it seems. Every spring we are frantically working to build our extended garden, and every time we say "this the last time, next year all we have to do is plant." Ha! This is the third year in a row, surely we are done now, right?
We started the actual garden plot this year by smothering the grass with black plastic sheeting, and then Jared tilled that area, which is a little over 800 square feet.
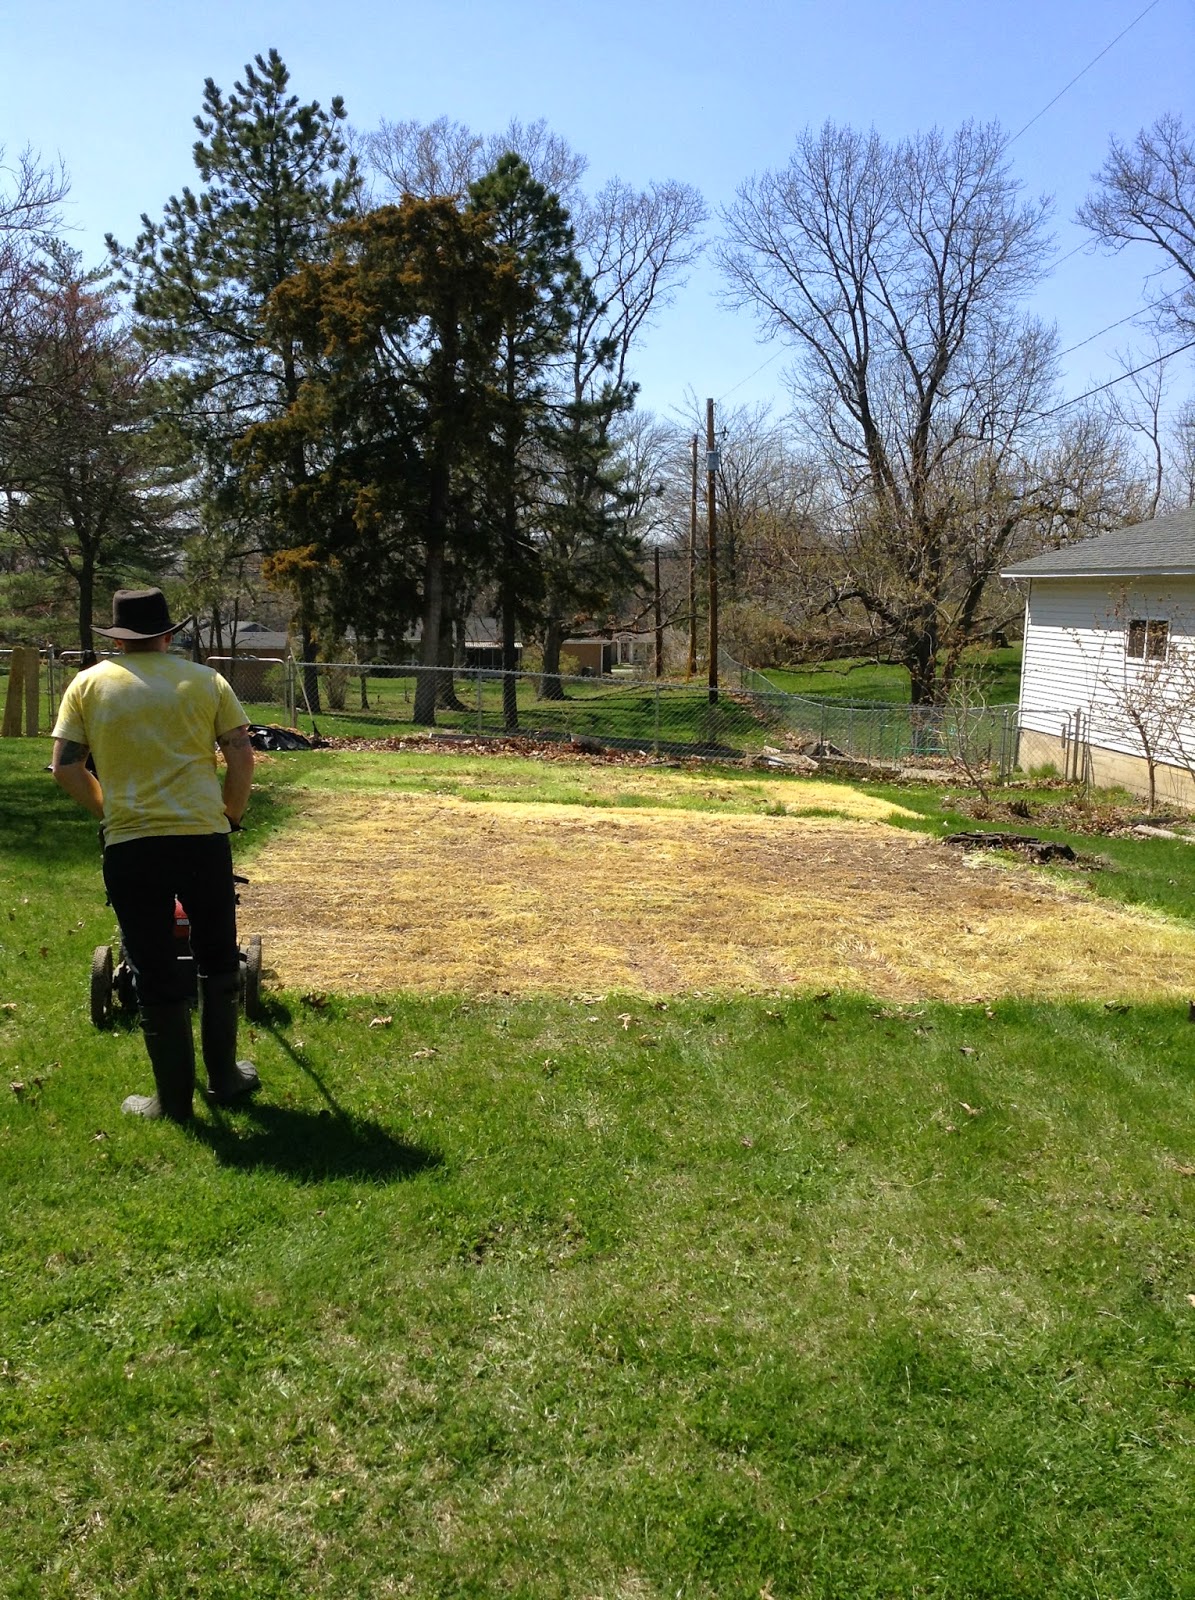
My grandpa was able to acquire several 8 foot long pallets for free from a cabinet shop that he buys from, and most of them were about 4 feet tall. They aren't all exactly the same size so we made it work.
I payed for a huge bucket of white barn paint and busted out the professional sprayer.

Unfortunately, I had a run in with a bad hose on the professional sprayer, and this was the result:

Yikes-a-rooni! So, I ended up using our little hand held sprayer that I had to refill thirty thousand times, but I did not complain. It got the job done, and there's no way I could complain with my poor hubby out there digging fence post holes.
Each hole was 3' deep. I told Jared, after all this, we really need a hot tub. We're no spring chickens anymore, he he he! But, seriously.

Once he got all of the holes dug, the process moved really fast. We did a nice thick layer of pea gravel in the bottom of each post hole, and then put the post in the hole. Then we filled the hole most of the way with dry concrete and filled it with water. We then used the level to adjust the post before it was completely set.
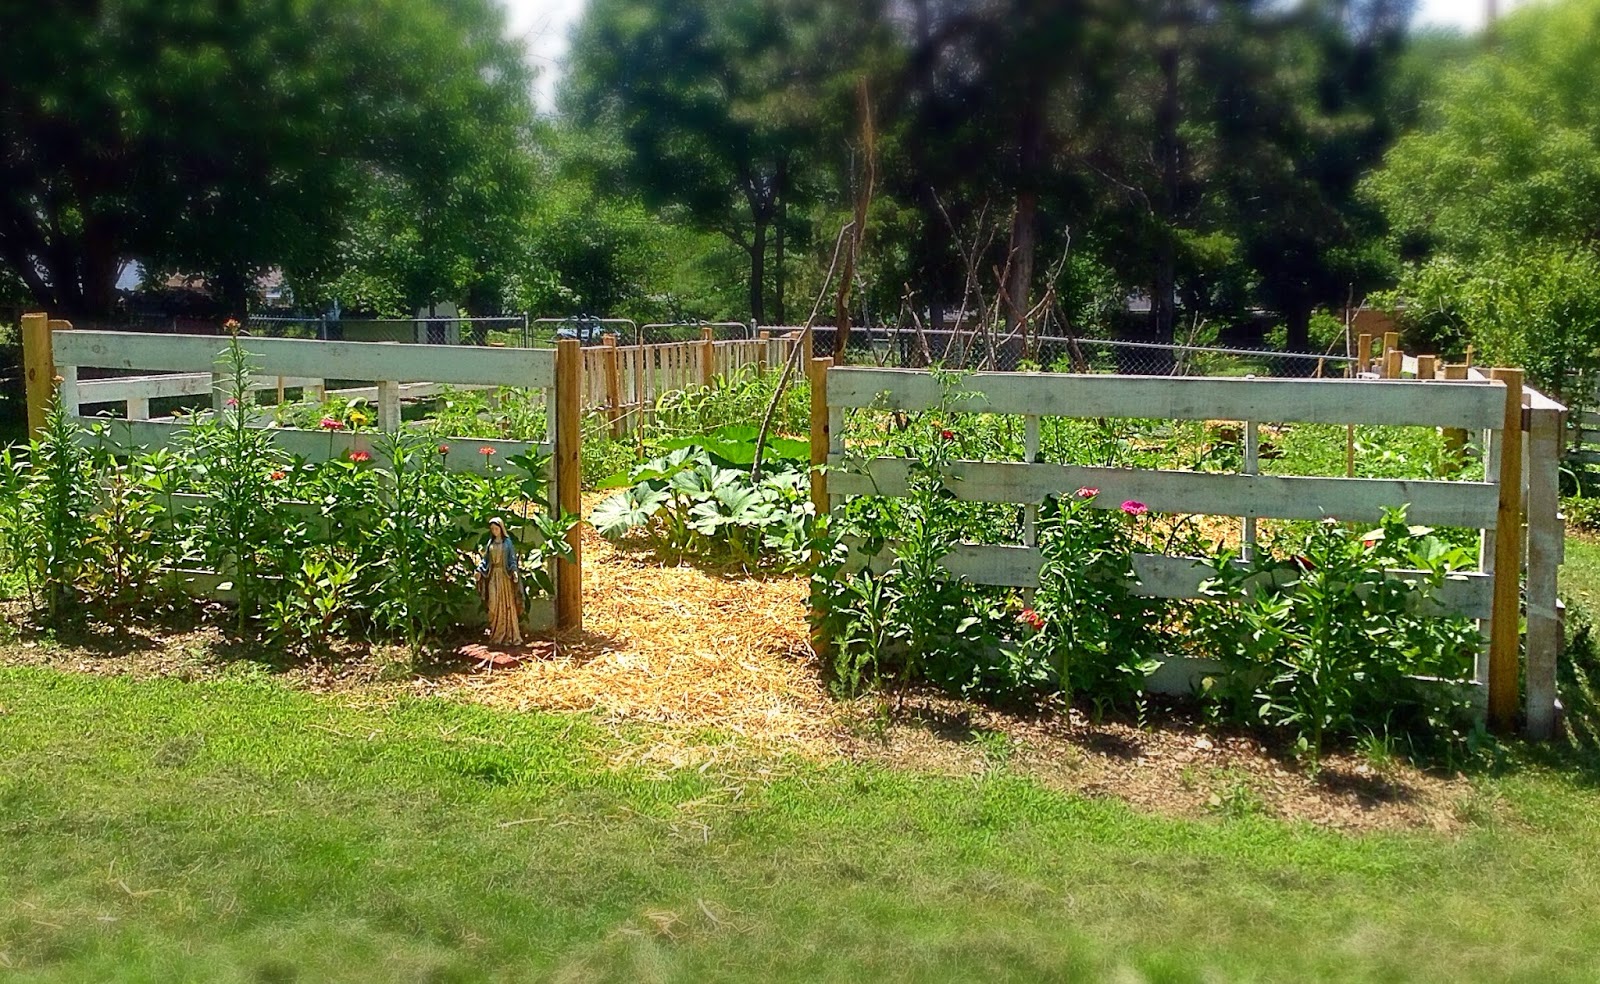
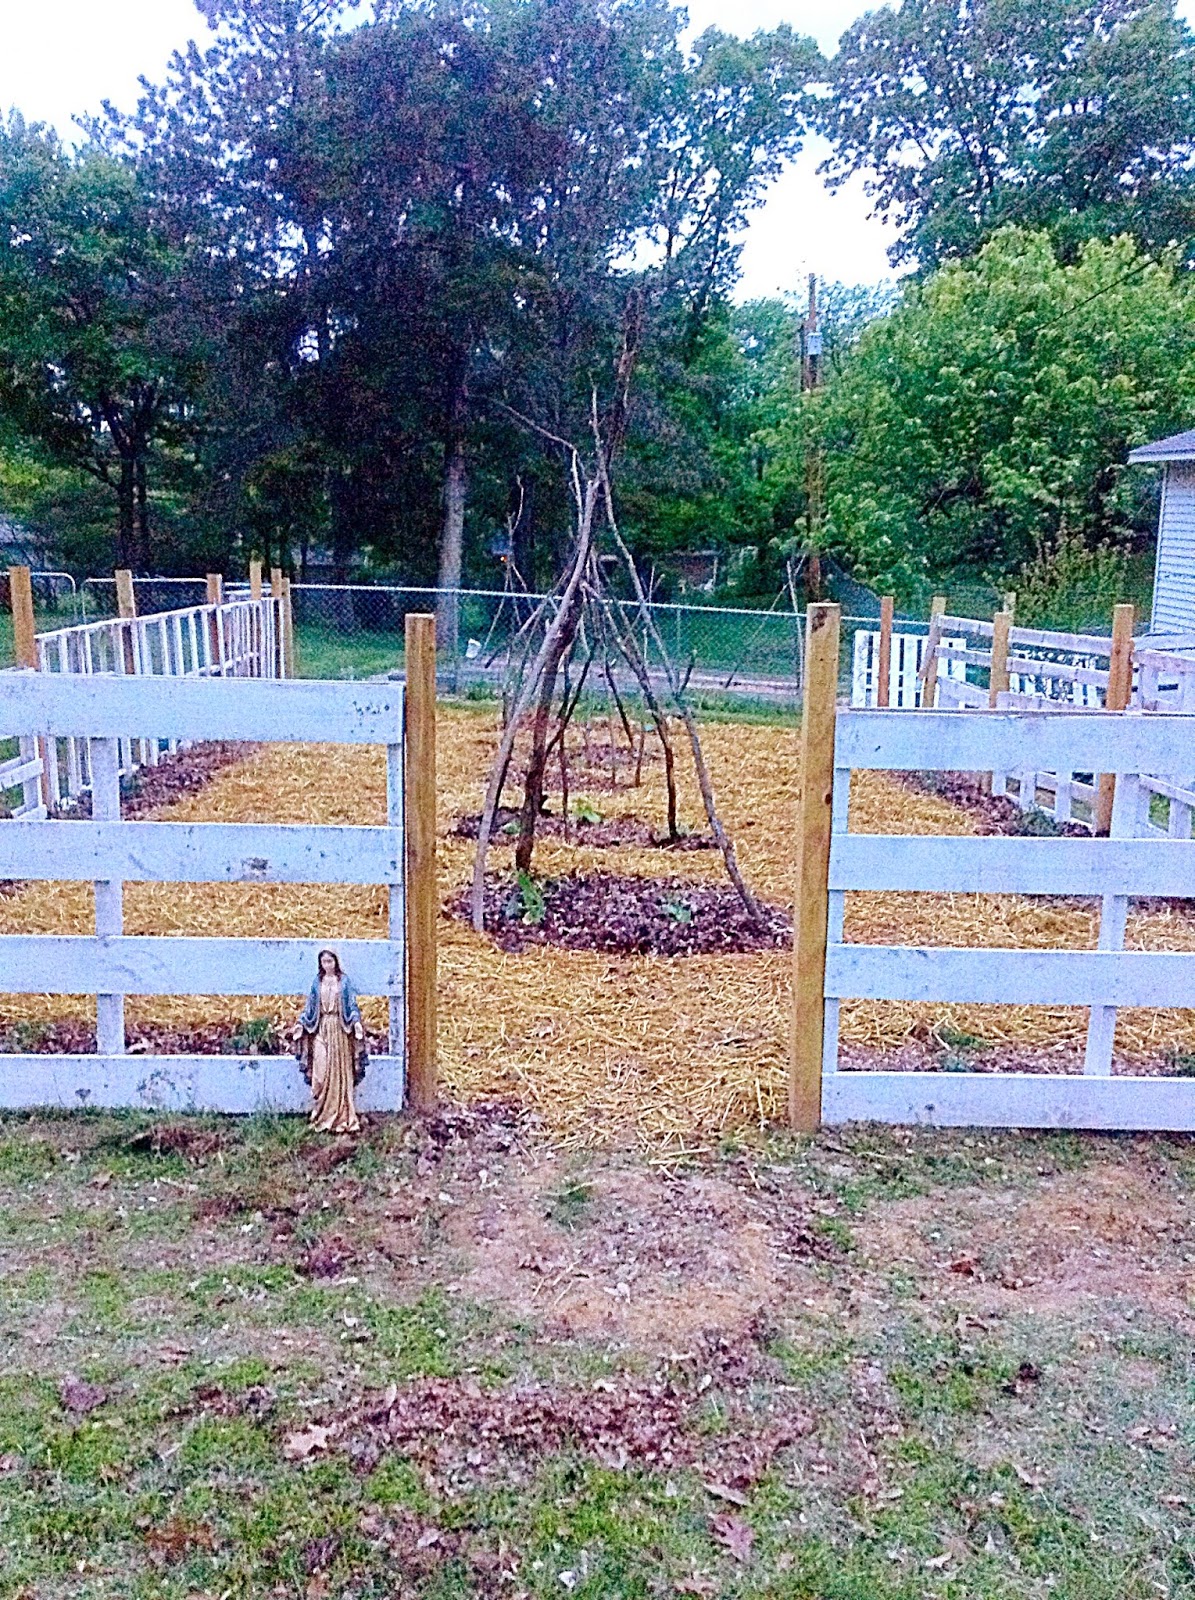
We set each post 8' apart, which worked perfect for the length of our pallets. We were able to attach each pallet on the inside of each post. After they were set, we went back and cut the tops off of the posts. We are still working on a gate for the front, but we are using an extra pallet for now to keep the little critters out.
This is only a couple weeks difference from when we first planted until now! Its definitely abundant!!
This entire project cost a total of $150. This includes:
- Large bucket of barn paint
- Two boxes of wood screws
- 20 landscaping timbers (they were half the price of actual fence posts, with the only difference being that they are slightly rounded on the edges, rather than square)
- Hinges for the back gate
- Pea gravel
- 6 bags of concrete
It's not perfect, but its exactly what we needed and it was much easier on the wallet. I will update when we finish the gate, and arbor for the front, and finish painting the fence posts!