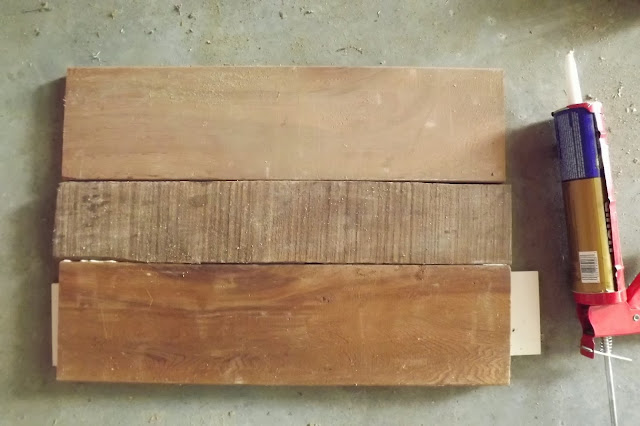
2. I used 1/8 thick scraps on the back to connect the boards together using short screws ( probably about 1" in size)

3. I flipped the sign over to the front, and marked off a square with painters tape.

4. I wanted my letters to be white, so I painted the first layer with white acrylic/latex paint. I used a high gloss because that's what I had on hand. Let that layer dry.

5. While that was drying, I cut out my letters using my cricut machine and black vinyl. You could use store bought letter stickers, just be sure to size accordingly based on the size of your sign.
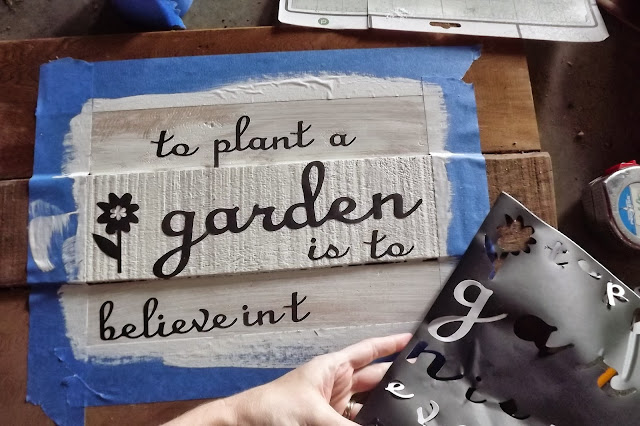
6. Once the white paint was dry, I added and arranged my vinyl letters. Be sure to really press down hard and remove air bubbles, so no paint seeps underneath.
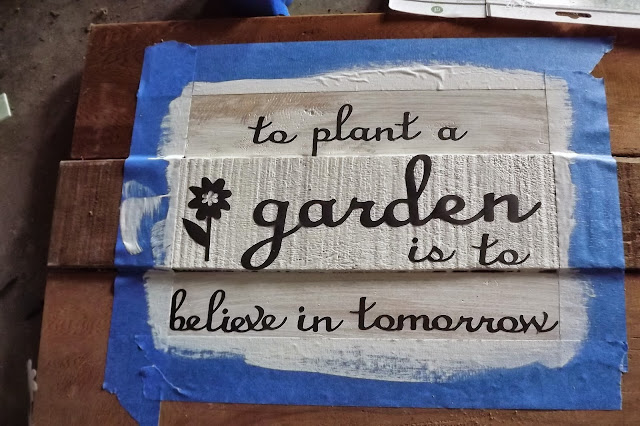
7. Then, I painted over the top of the letters with a high gloss black acrylic/latex paint.

8. I used a hairdryer to speed up the dry time just enough so that the paint was not runny. Then, while the paint was still slightly wet, I removed the letters carefully with the tip of an exacto knife which was very pointy and easy to slide underneath the letters without smearing. Once the paint was dry, I had to do just a little touch up of some of the letters where black had seeped through a tad with a wet and dry end of a Q-tip. I also had a white paint marker for any spots that needed it.
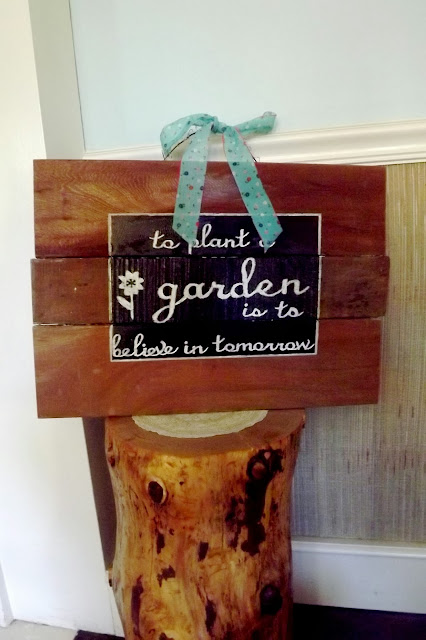
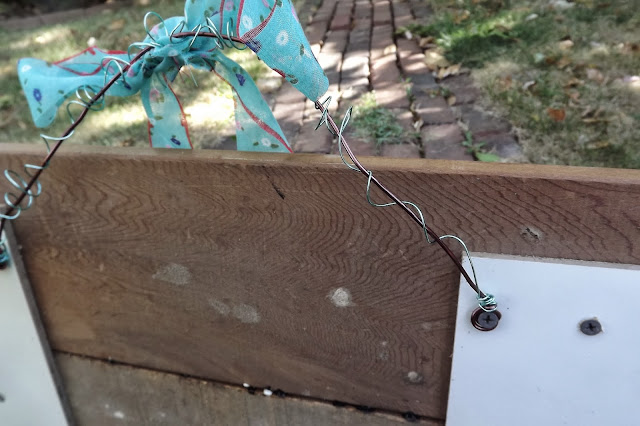
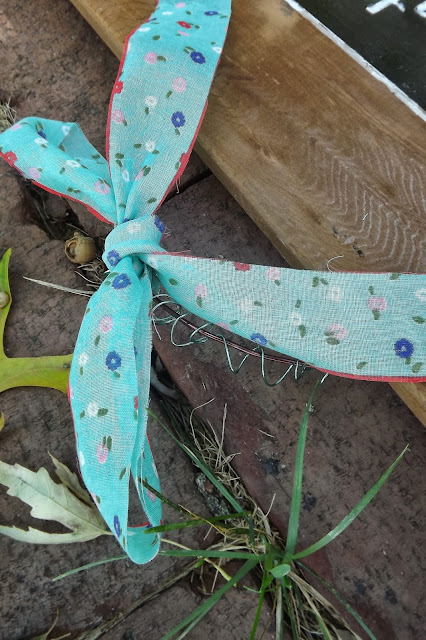
9. I added craft wire to the back for hanging purposes and topped it off with a ribbon on the front.
I plan to make a huge version of this to hang on the fence around my own garden!!